|
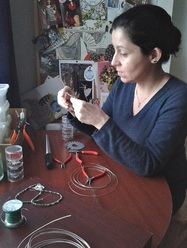
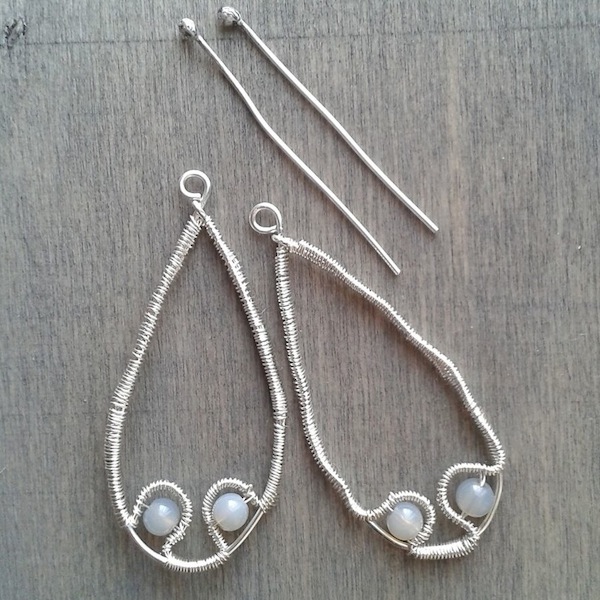
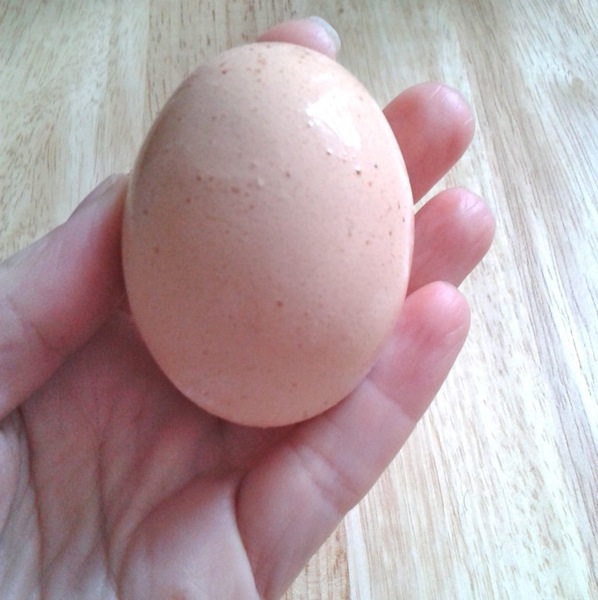
You know I'm not fond of noxious chemicals, and some of you asked me to elaborate and explain how I manage to avoid using them. I finally have a chance to show you how it's done with a short and sweet tutorial on how to oxidize silver – by using things you probably already have at home. But first of all, let me explain to you how I ended up oxidizing the earrings in this tutorial, and why. I have some very nice agate beads in a very delicate gray color. It's a beautiful shade of gray, but it doesn't look like much against silver, until the moment the silver is oxidized. At that point the agate stands out much more, and the contrast between the color of the stone and the wire-wrapped frame of the earrings looks really good. As you see from the pictures, the stones are already in place and they can go in with the rest of the earring without any danger. The earrings I am using in this tutorial are indeed very small, it's not just your impression. I love making small earrings - in fact, small and ultra-light earrings. I have such small earlobes that anything heavier than two grams is a bit too much for me for extended periods of time. However, it's not easy to find earrings that are light and decorated with the gemstones I like. The desire to start making my own earrings was in part what led me to take up jewelry making. It goes without saying that the technique described in this infographic can be scaled to work with much bigger earrings and even with more than one jewelry project at a time. I hope you'll find it useful, and please, feel free to contact me with any questions!  First things first. The method I am going to describe is not difficult and can be used at home with minor preparation. Chances are you already have everything you need: the silver jewelry you want to oxidize, one or more eggs, and a sealable plastic bag.
After chopping up to pieces your hardboiled egg, place it in a sealable bag with the silver. Make sure the two don't touch as this might result in uneven oxidation. 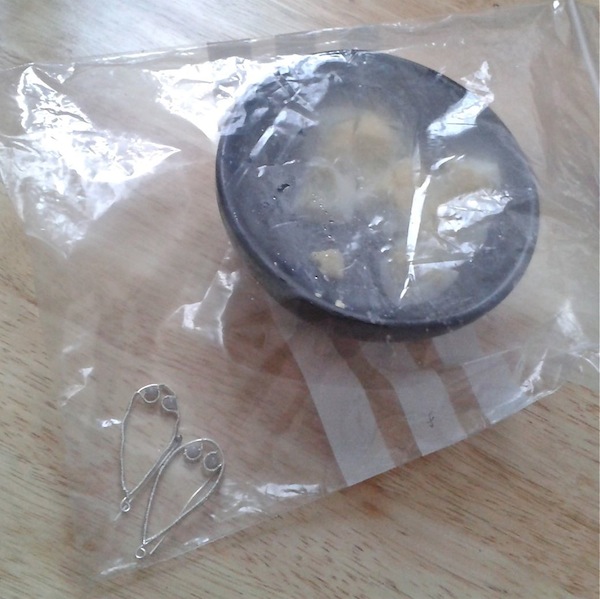 The sulphur from the yolk will slowly work its magic on the silver. Give it several hours, or leave everything there overnight, and be ready to be amazed by the results. 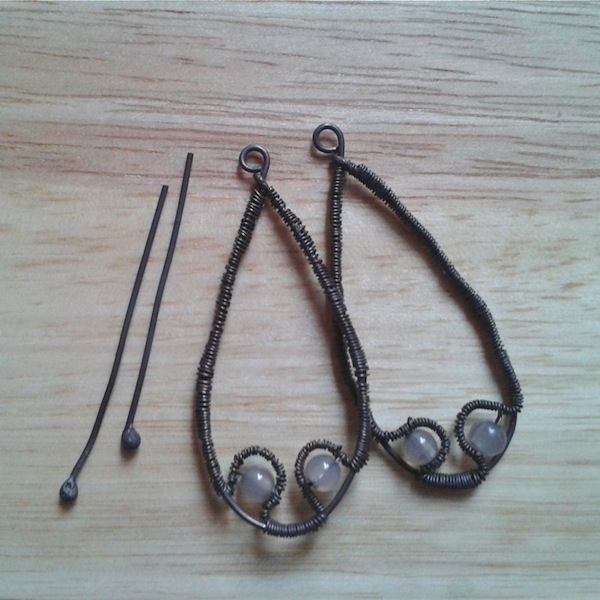 At this point all is left to do is to get rid of the excess oxidation. Some soap and/or some fine steel wool will work wonders. It's obviously easier when you do all this before you assemble your pieces, but in a pinch it can be done also after they have been assembled. You assemble all the pieces, some more polishing and... ta dah! 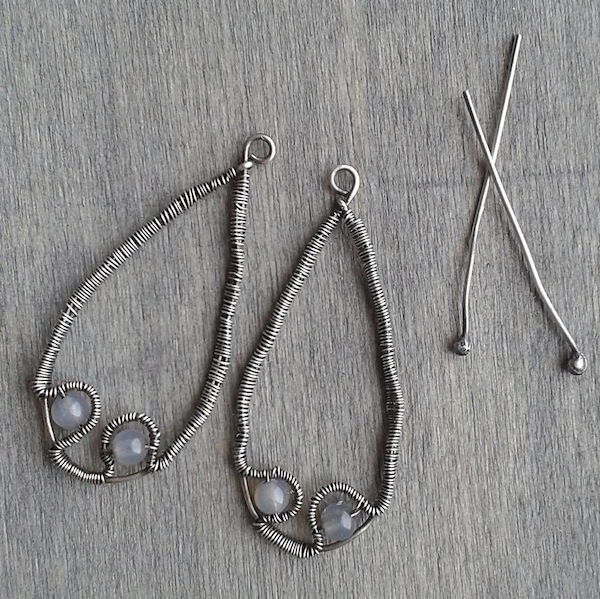 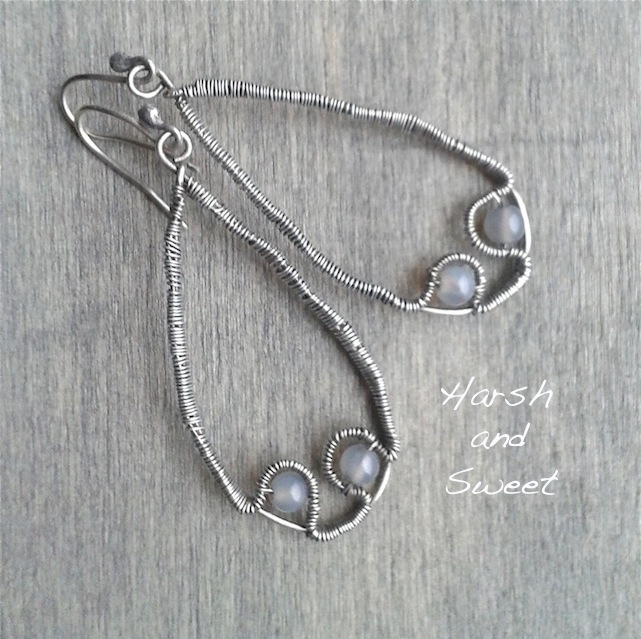 |
Archives
May 2016
Categories
All
MonicaI love hematite, onyx, and chocolate.
|
 RSS Feed


|
|


|
Copyright © 2024 Harsh and Sweet®. All rights reserved.
This website uses cookies. By continuing to use this website, you are giving consent to their use. For more information on cookies, please, visit www.google.com/privacy/partners/
|