|
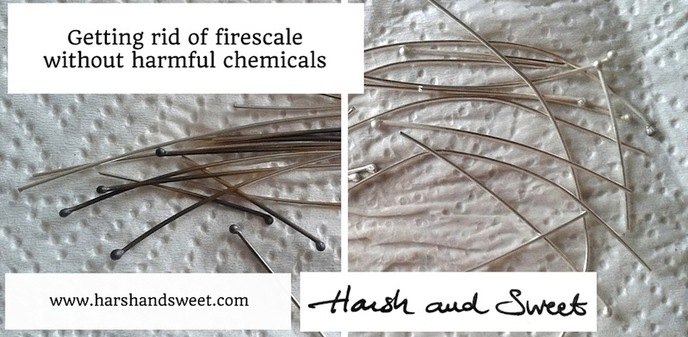
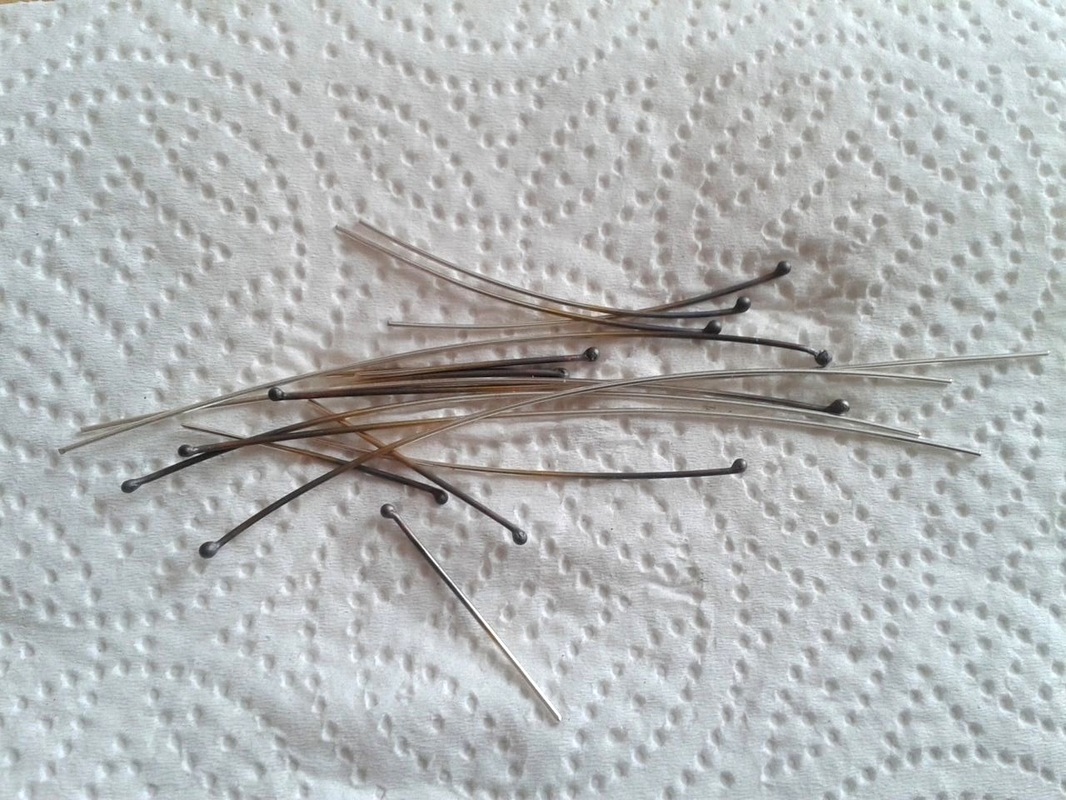
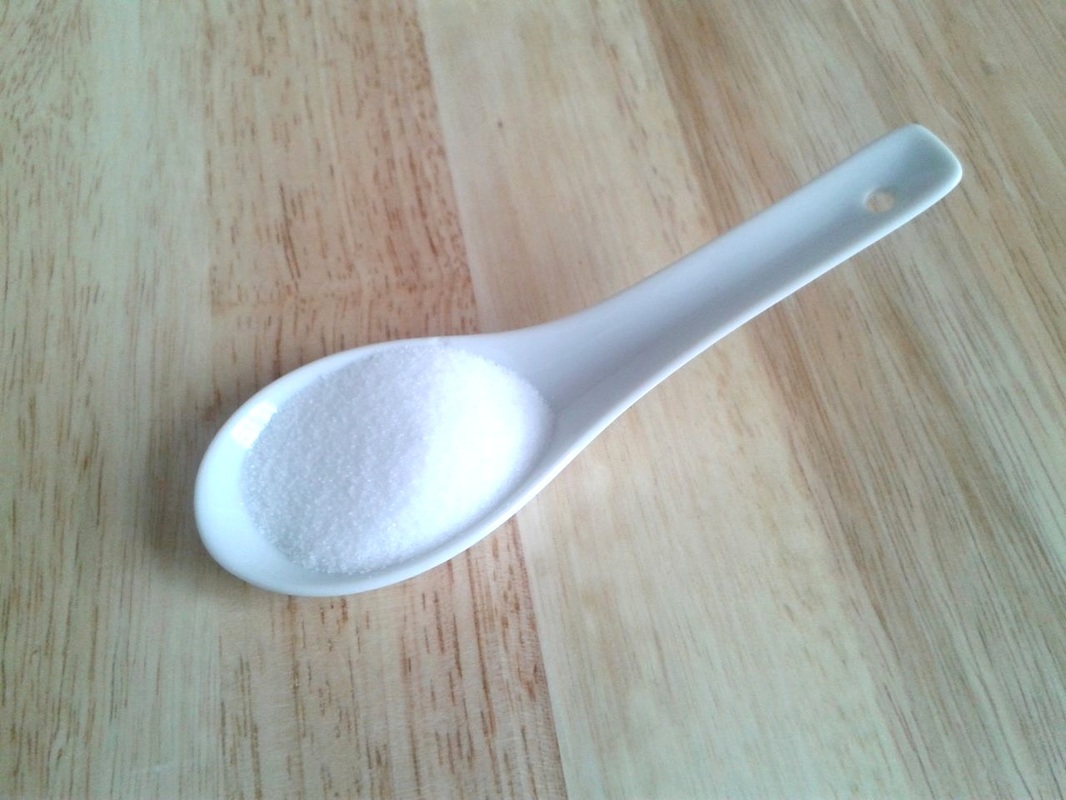
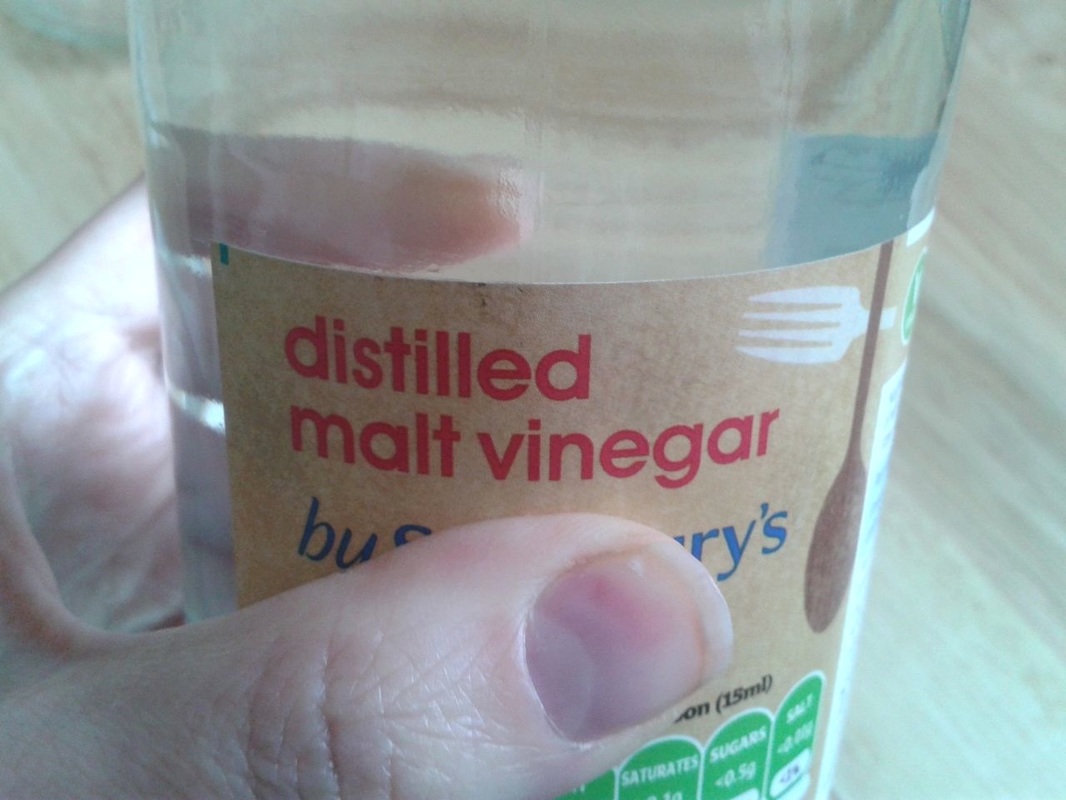
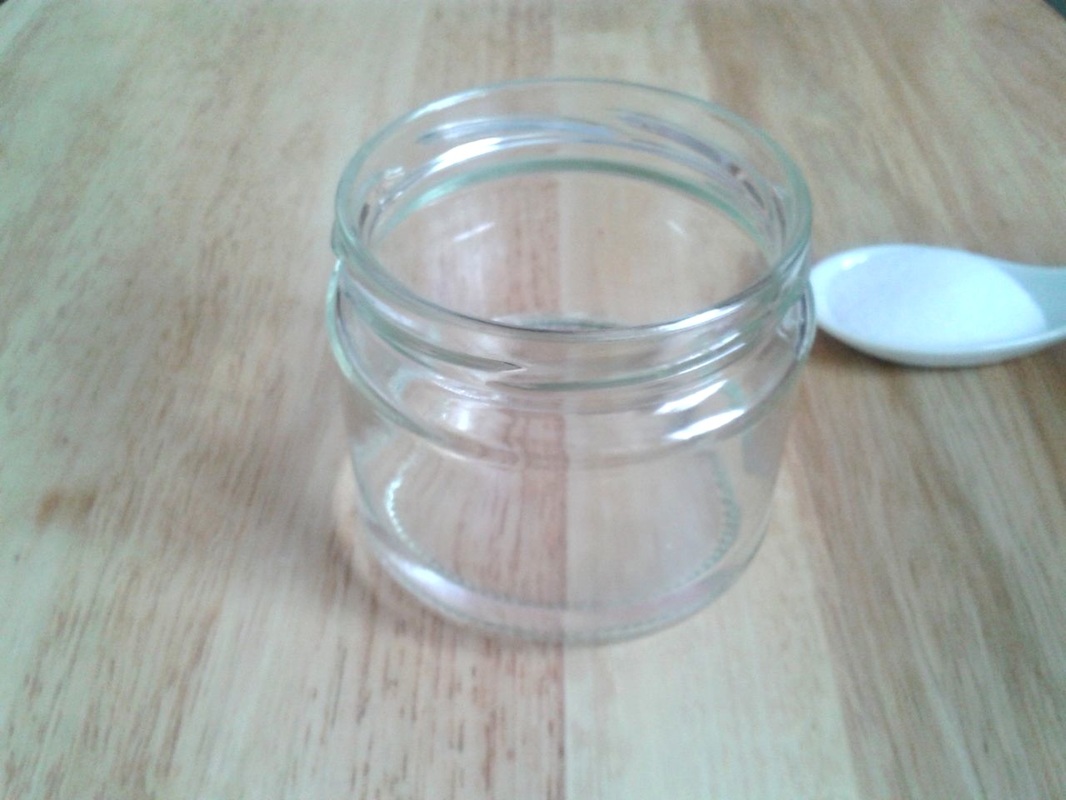
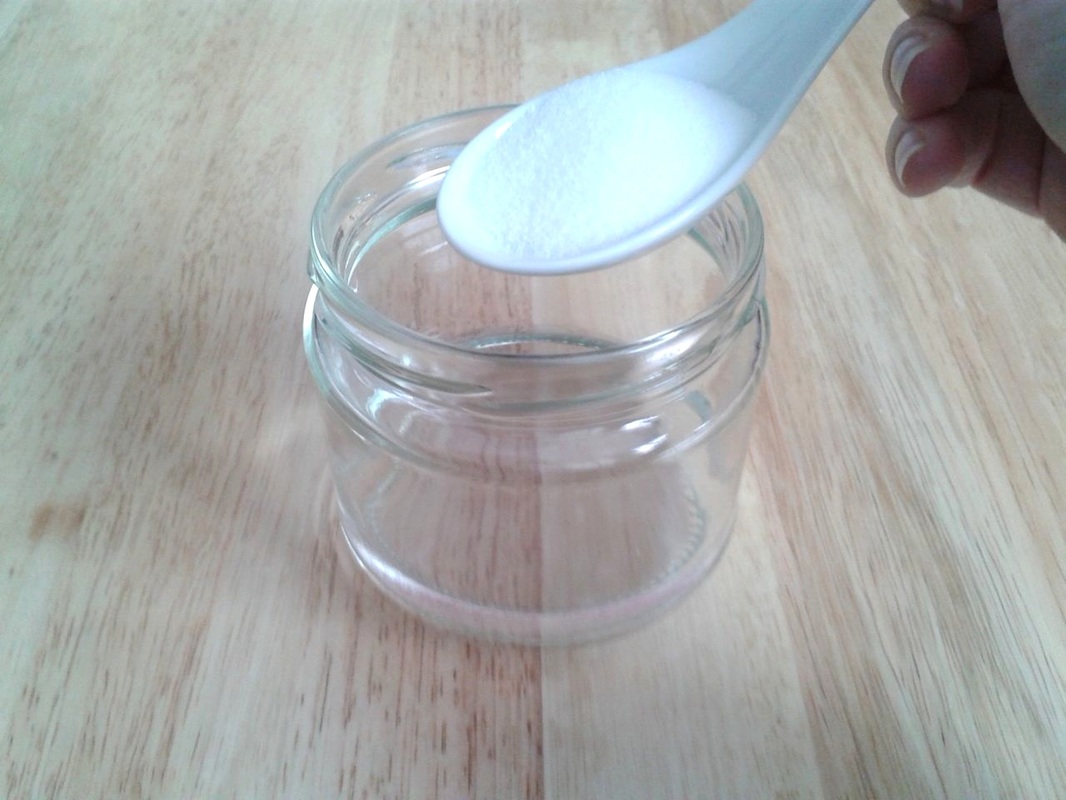
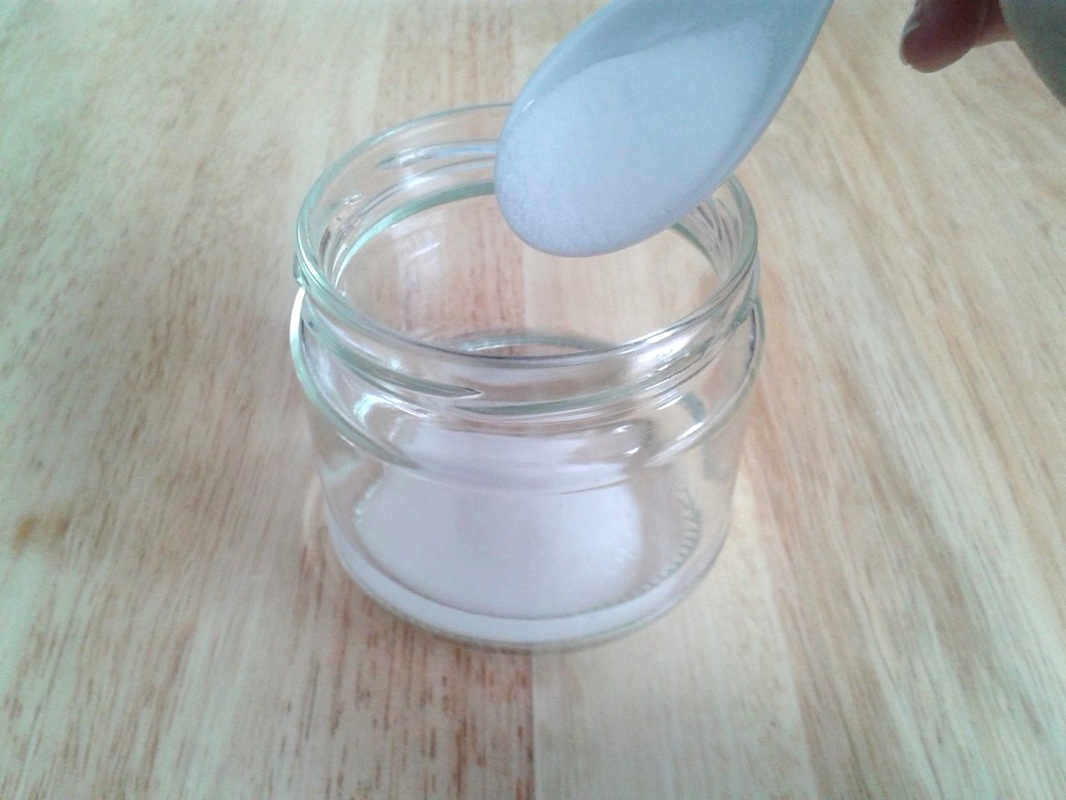
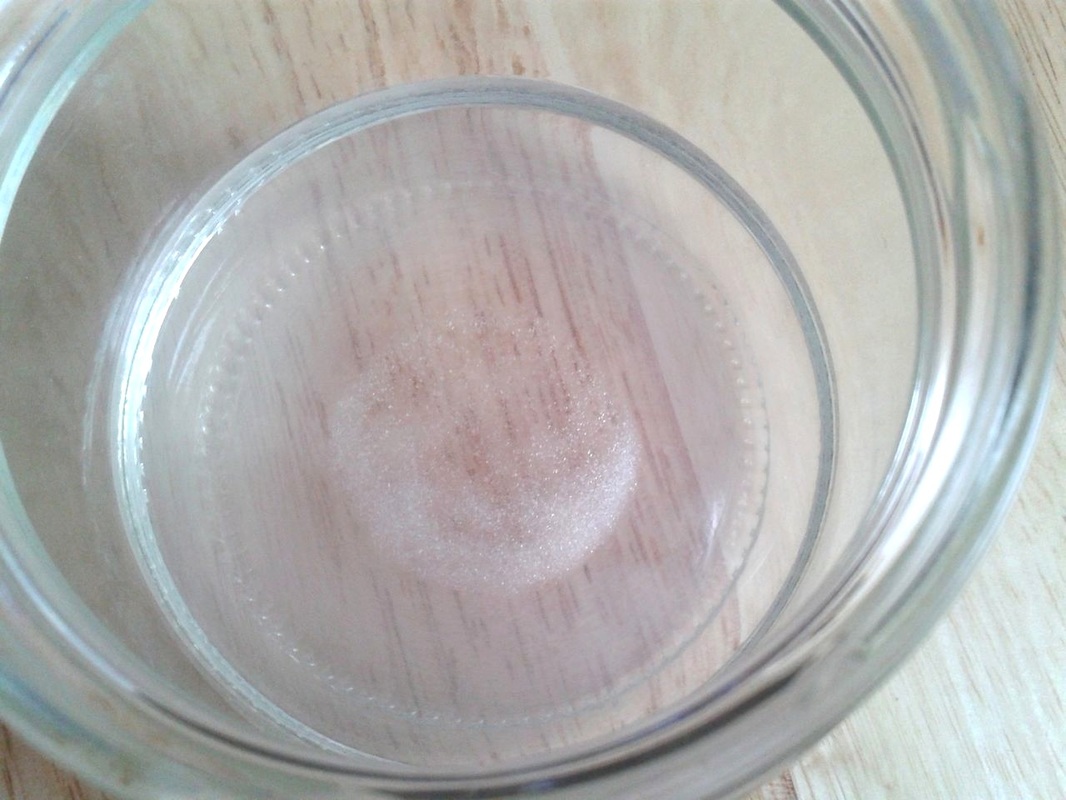
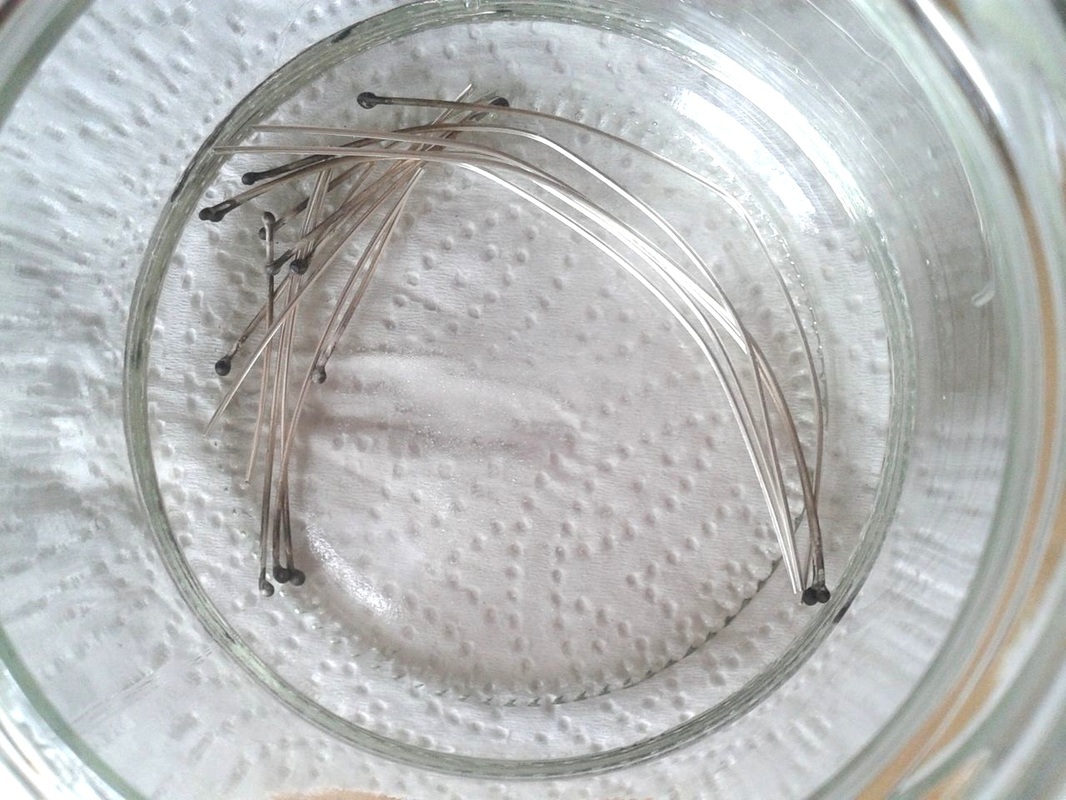
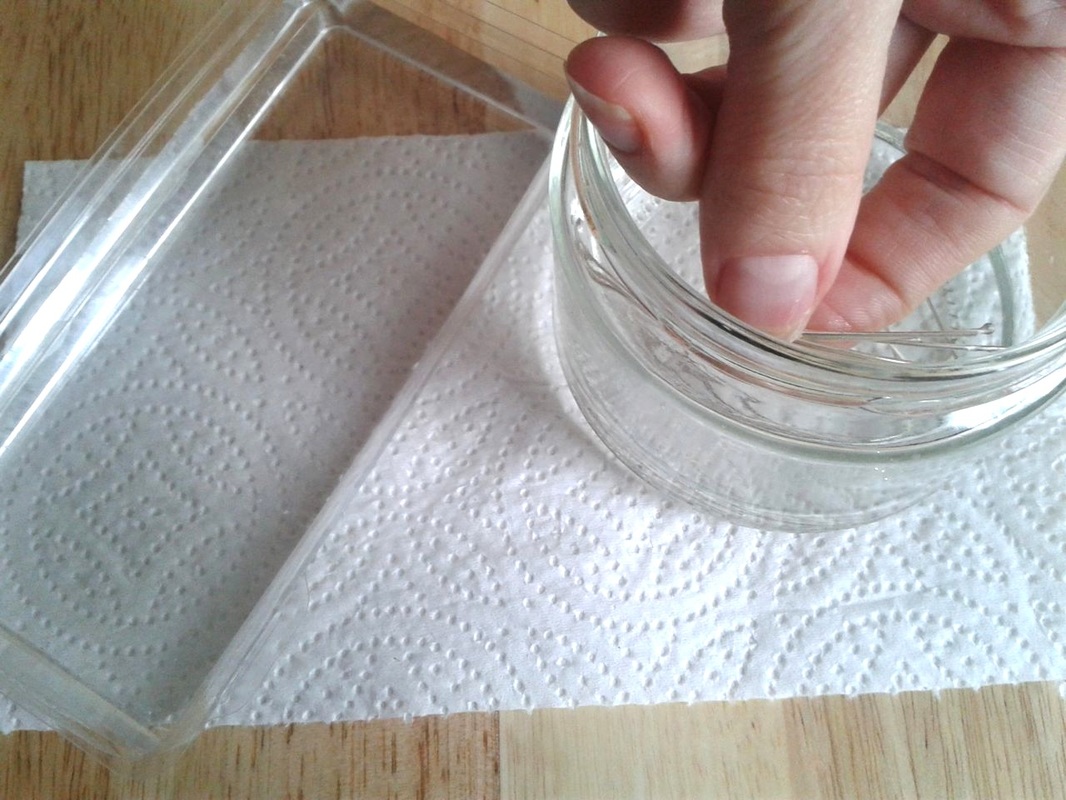
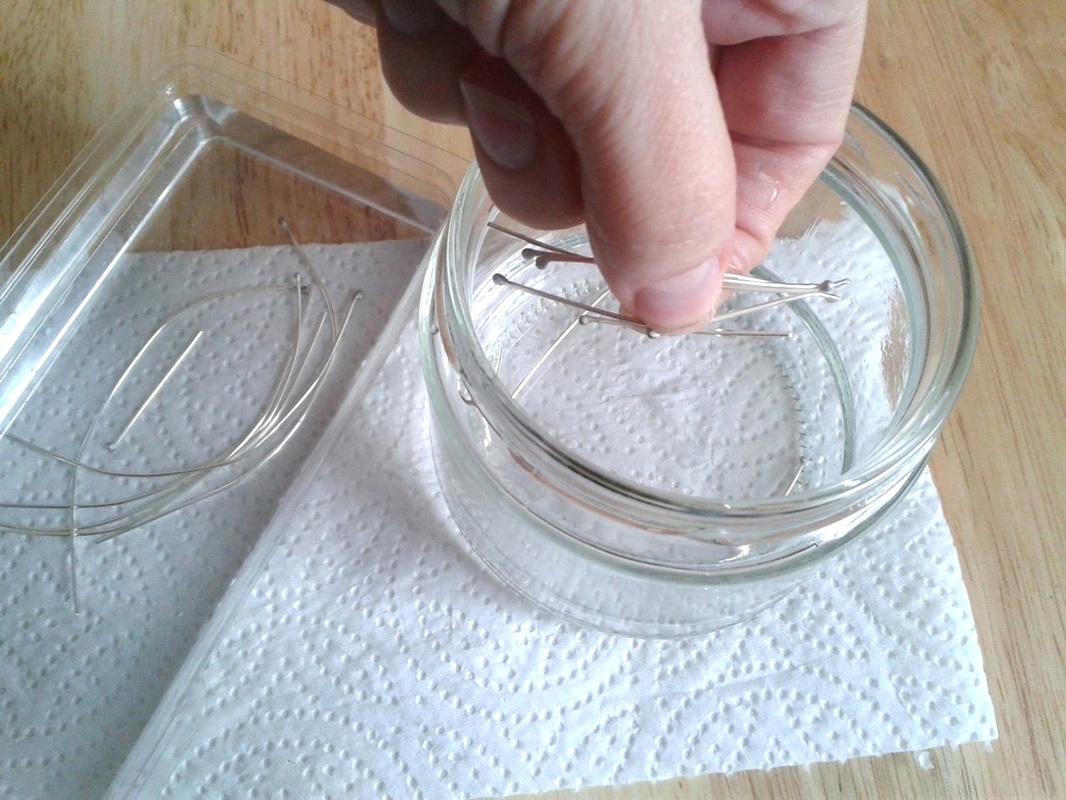
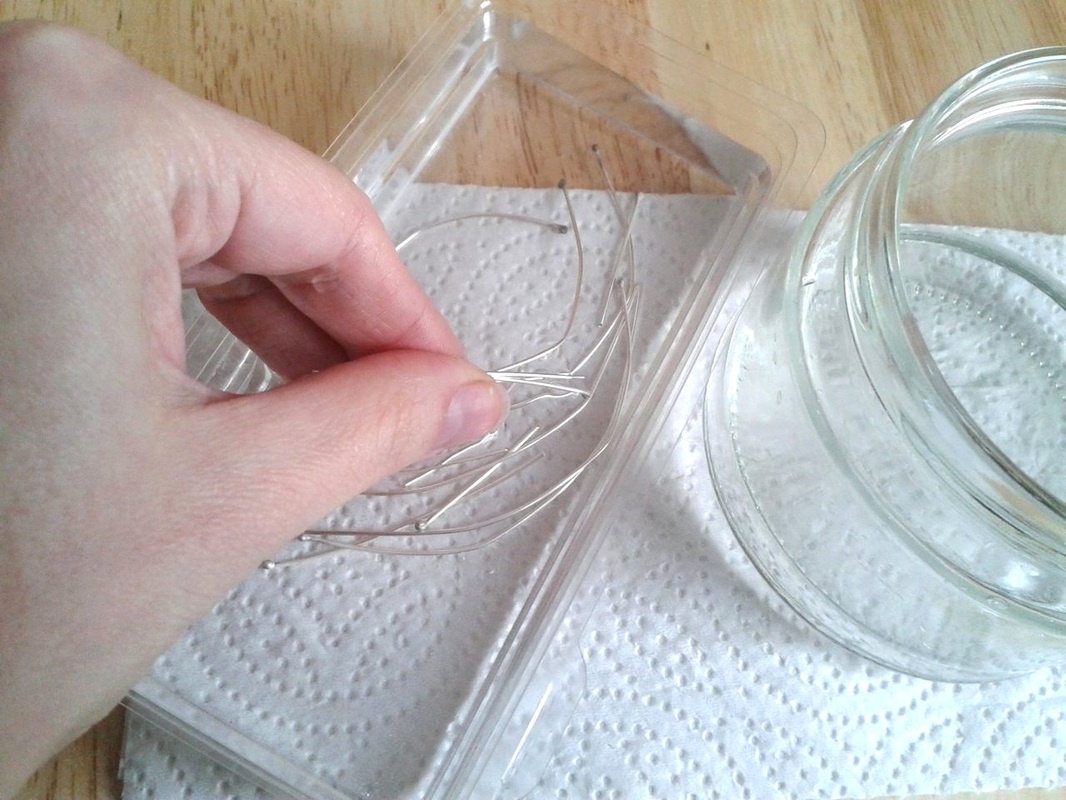
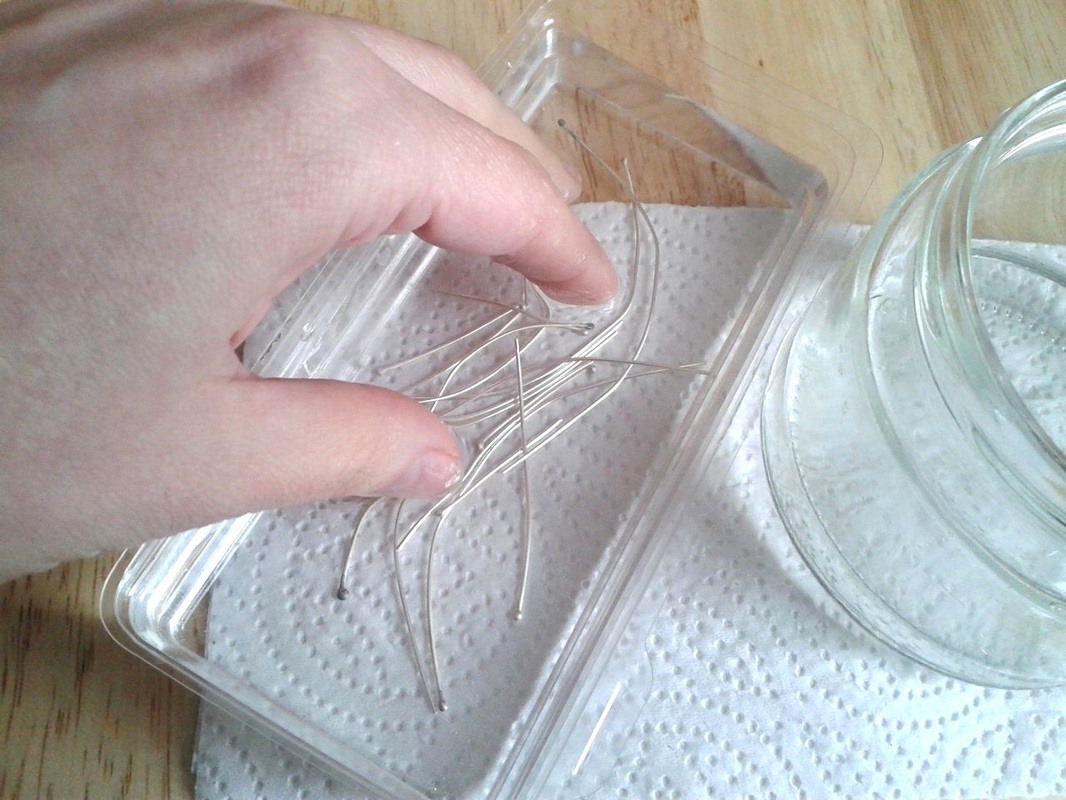
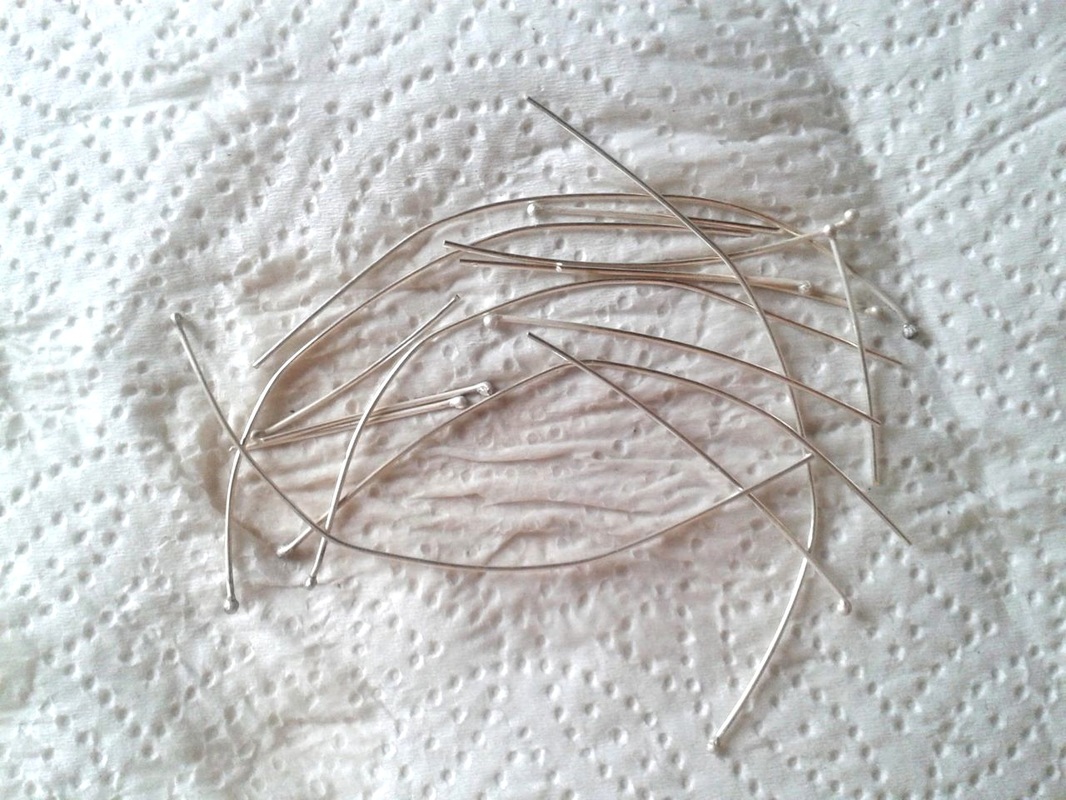
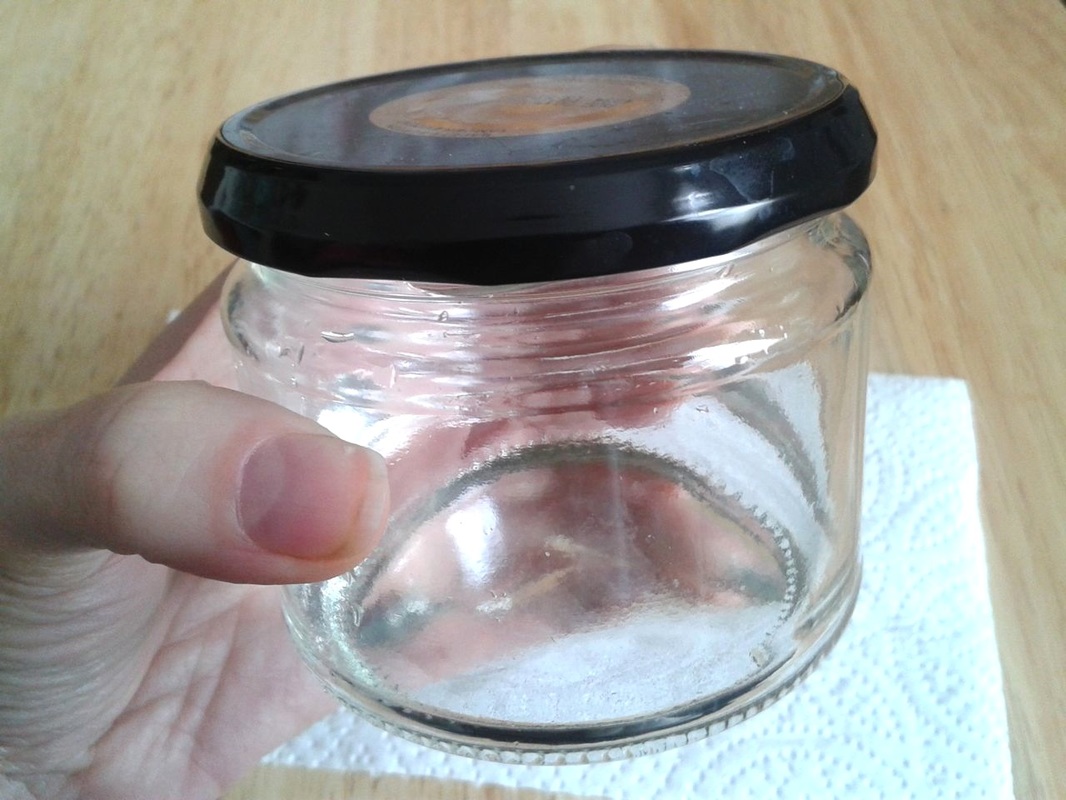
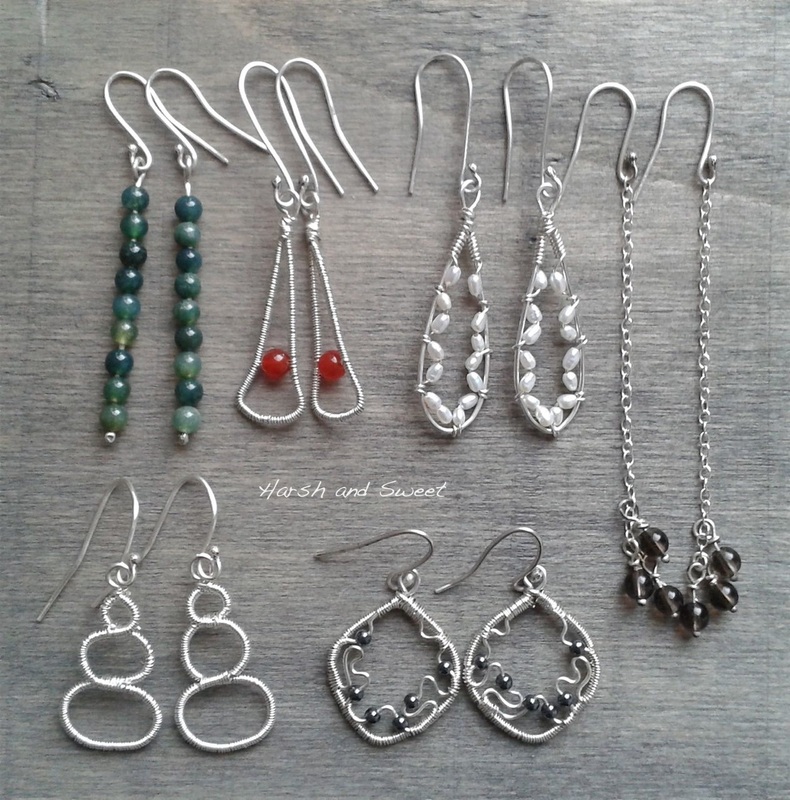
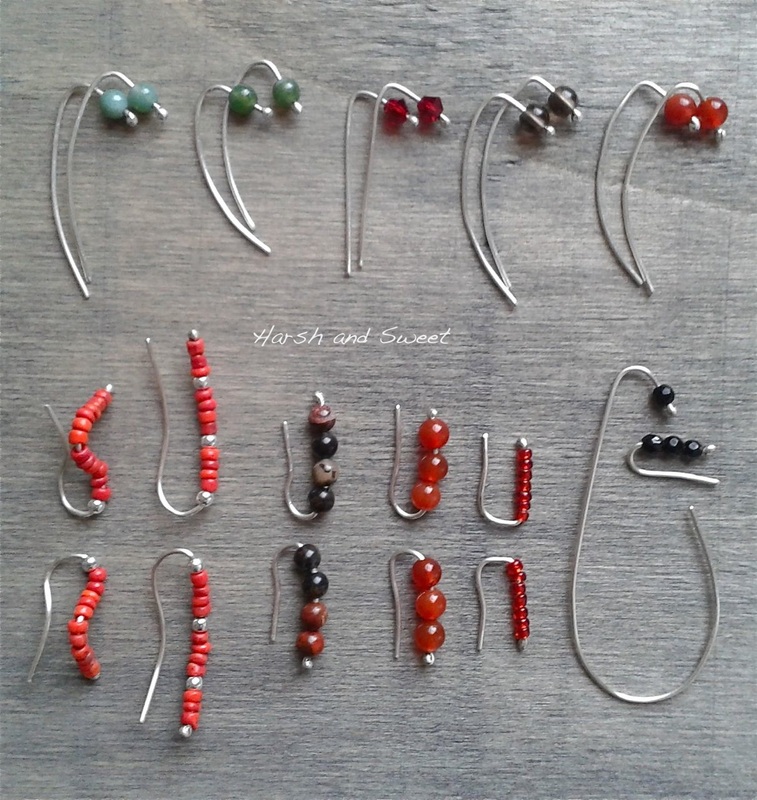
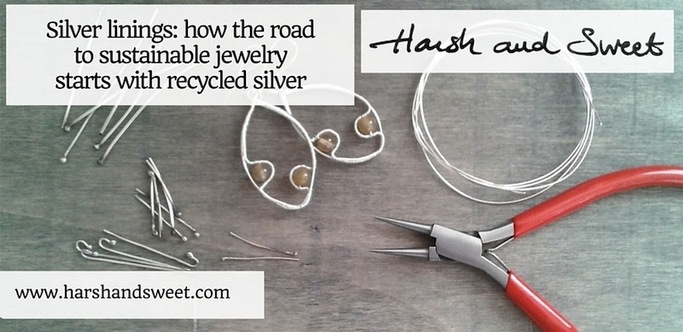
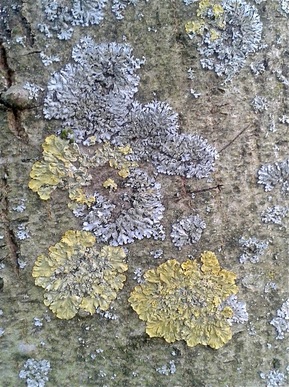
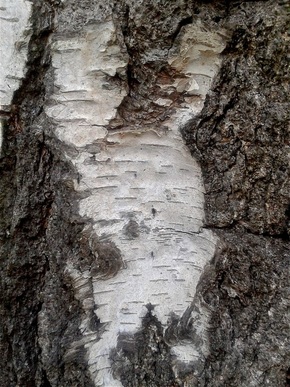
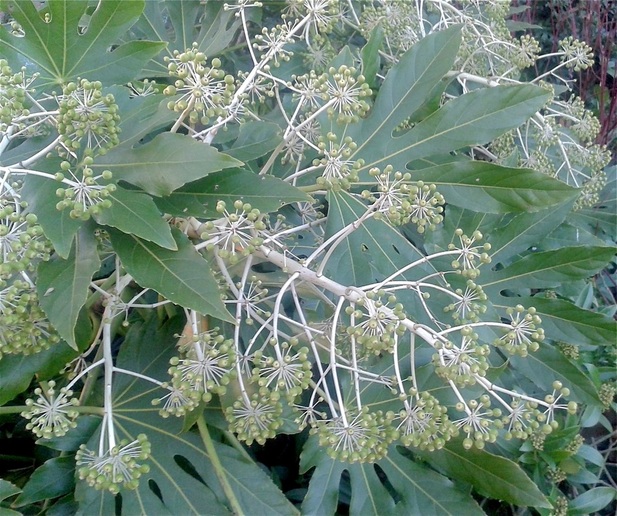
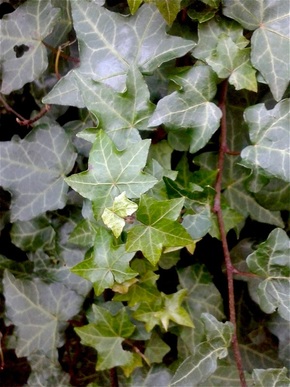
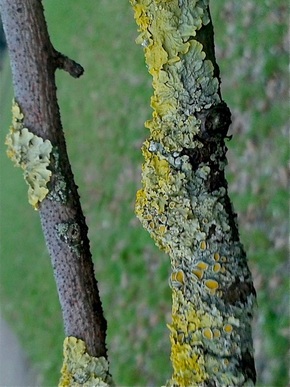
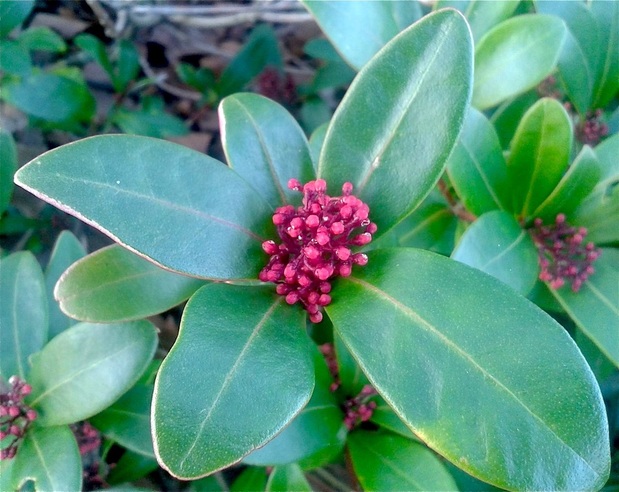
You already read how much I hate the many harmful chemicals used in jewelry making and how I am in favor of green alternatives. Today's good news is that the substances used to protect metal from firescale are among the easiest to eliminate from one's workshop. Using a torch on sterling silver leaves it coated in a dark layer. To get rid of it, one can use a chemical solution - a pickle - but this is not the only option and a simple all-natural method exists that will allow you to get rid of firescale without any of the guilt. As you'll see, it is all very simple. Chances are you can get started right away because you already have everything you need. I need pins almost every day and I make them in batches. It only takes a moment to make them. However, somethings needs to be done about the black layer that coats them. For the procedure I am about to explain you will need dry pins. if you have other element that needs to be freed from heatscale, feel free to use them. Just dry them first. There are two ingredients you will need to create a solution. Some salt and some white vinegar. I use a simple jar for my solution. I chose a jar with a fairly wide bottom to allow my silver to be submerged in the solution. As you see, I have only added a small amount of vinegar into my jar, no more than 2 centimeters (about one inch). I won't need more and I don't see any reason to make more than I need. Others who are using this method like to be able to heat their solution. Heating allows the chemical processes at play to sort their effects faster. Personally, I don't mind waiting. My pins are made in small batches whenever I run short of them, so time is not a concern. If you need to get rid of firescale quickly, though, be aware that heating the vinegar and keeping it warm in a heating ceramic pot might do the trick. There is a reason the pot needs to be made in ceramic. Metal will react with the solution, color it, and end up coloring your silver too, therefore whatever you do, do not use metal - not for the container and not for any tool you might use. Once you start adding salt to your vinegar, you will see the vinegar going from clear to milky before going back to clear. Soon enough the amount of salt will be too much to keep dissolving and that will be the moment you can stop adding more. Time to immerse your silver in the solution. It will probably take at least two hours for the solution to dissolve your heathscale, possibly more. Since the container is see-through, you won't have any issue checking on the progress of your silver. Once the process is complete, you can just reach for your silver and rinse it thoroughly. As you see, I reach for it with my bare hand. This solution is made with ingredients that are completely safe for you. Just make sure you have no cuts or scrapes in your hand and you will be fine. If you do need to use a tool, remember to choose a tool made of wood or plastic. Don't use any metal! While this solution is perfectly safe, it needs to be washed away from your silver. A small container filled up with water will do the trick. Et voilà, your silver is no longer covered in firescale, and you can pat it dry, and start using it! Your solution can be saved in the jar, ready for future uses. If you have enjoyed finding out about this natural method and you would like to find out more, please check out my blog on oxidizing silver without liver of sulphur. For some time I have been working at making available to everyone what had been a pet project of mine: a line of ultra-light earrings. I realize that many might not really understand why weight should be such an important factor for earrings. As it turns out, weight is very important, especially if you have small earlobes or very sensitive ears. Many have had to abandon earrings they liked very much only because they were too heavy and too painful to wear. The ultra-light earrings that are pictured here weigh less that one gram each - a weight that is barely perceptible. You can wear them with ease all day long and literally forget that you are wearing any earrings at all. These are the first of a series that will become part of my regular offerings - and they are already available and ready to ship. Custom orders are also available. Ultra-light doesn't mean traditional, though. Many of the earrings in this lightweight collection are more alternative and edgy. Still flattering and colorful, these earrings have a variety of the latest shapes, and models ranging from threaders to earring cuffs. To make them even more comfortable, I am offering to customize my ear vines for free. Just refer to my listings before placing an order and get in touch with me! One of the difficulties of working with metal is that you don't always know its origin. You can ask your provider and look things up online, and in this way find out what general area your silver comes from, but it’s always possible that the silver comes from a place where working conditions and worker compensation are an unknown. Also, I am not cool with the idea of sending people into the depths of a mine looking for ore with all the dangers connected with that. A perfect solution is to use recycled silver. No people are risking their lives to find precious metals when unwanted pieces of silver have been gathered and are fused to produce new wire that is then sold with a guarantee of authenticity. The entire process is certified to be traceable and fully audited, thus protecting jewelry-makers and their environmentally conscious customers from possible fraud. I have started using recycled silver as soon as I learned of its availability, and despite its higher cost, I intend to keep using it every time I can find it. This is not the only way in which I want my business to be environmentally friendly - far from it - but it certainly is the one that I most often discuss, both on my site and on each listing for which recycled metal was used. The only issue I have had so far is that not all the sizes of silver wire I need for my jewelry are available for purchase. The thinnest wire I use in my work, a thread-sized wire of .3 mm diameter needed for the most minute details of my jewelry, is not available in recycled silver. Here's to a day when demand for recycled silver has increased and more sizes of wire have become available. Although inspiration can come to you out of the blue at certain times, and at others it can be hard to find, I believe that with the right mindset, it can be found in many places. For me, the greatest source of new ideas is nature. Water, as well as vegetation in its many forms (even the most minute plants) can make me think of new shapes and inspire some of my jewelry. These images are just a small sample of the many shapes I find interesting see - they are things that one way or another have had an impact on my creations.
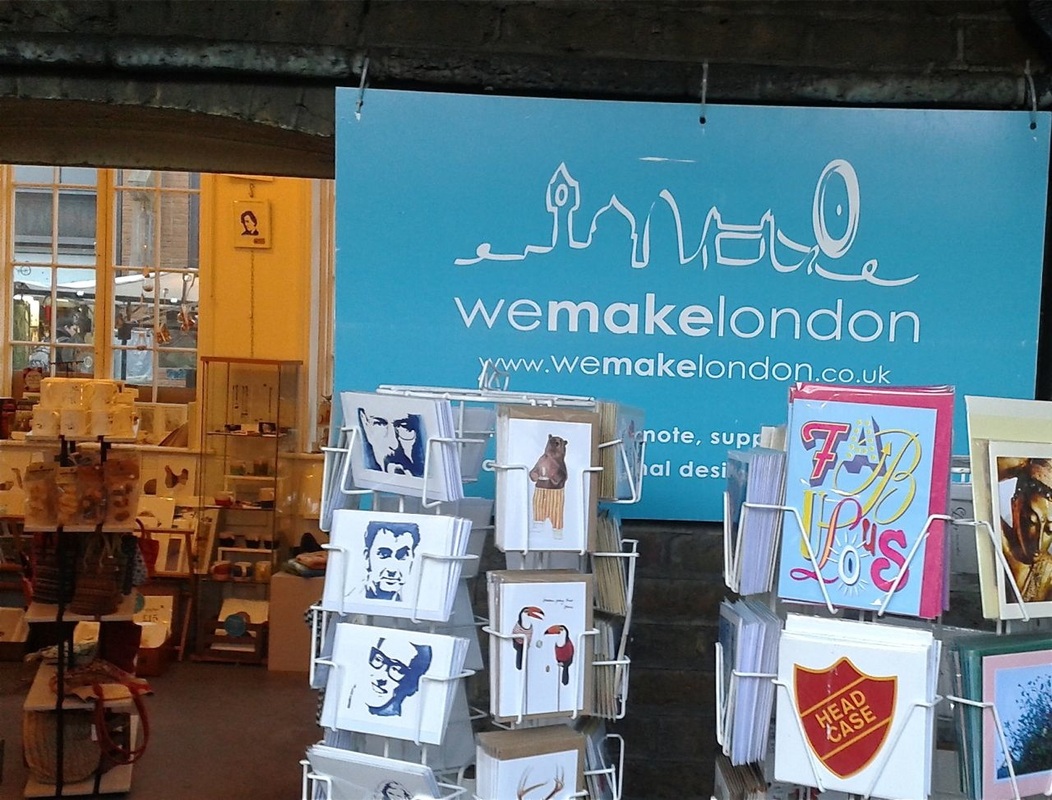
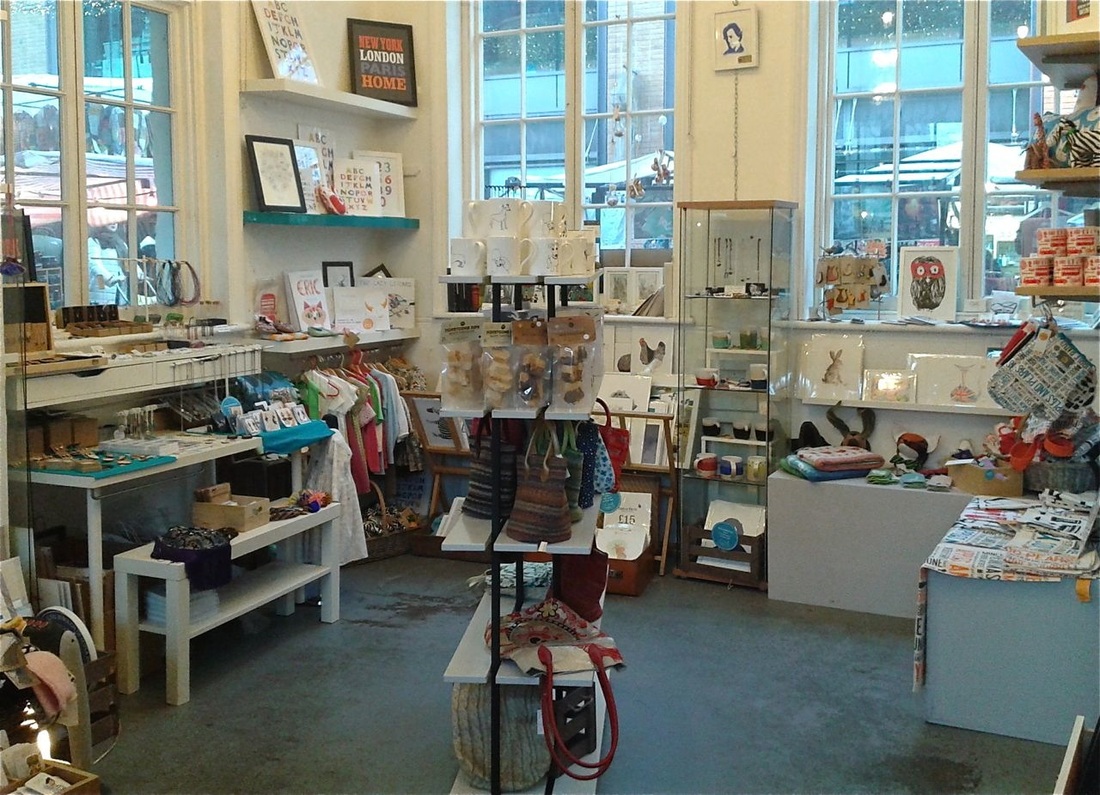
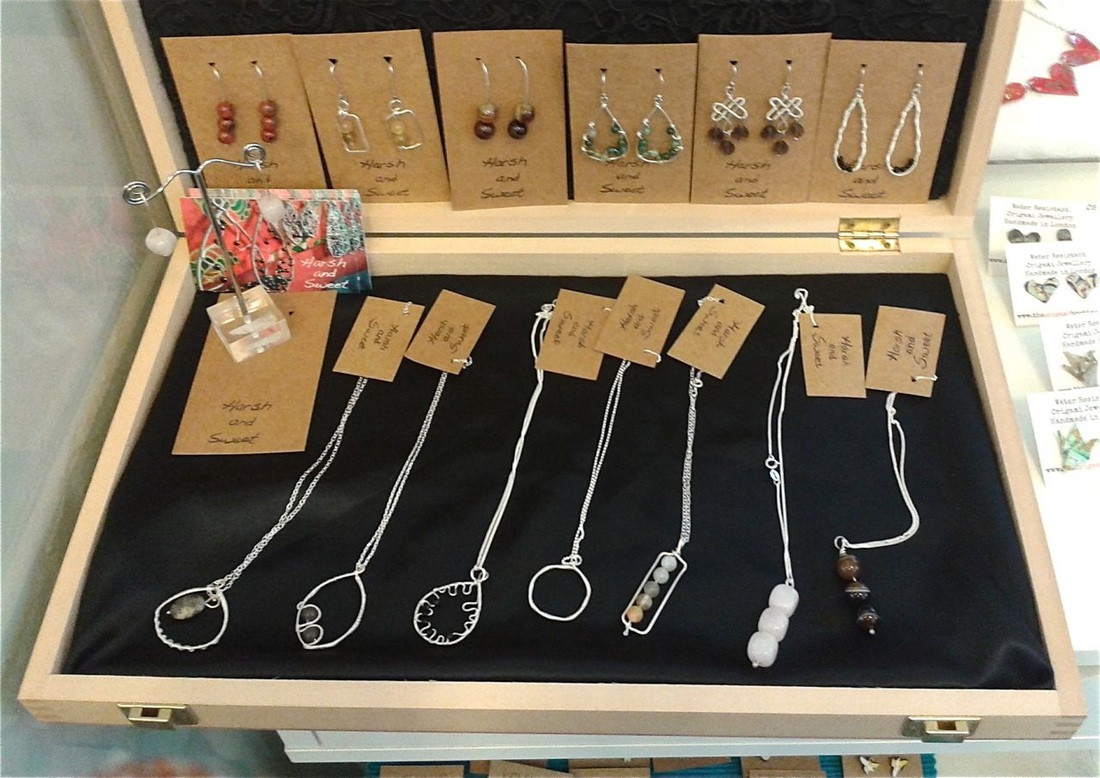
Some of you may already be familiar with Camden Lock, in Camden. The luckiest ones among you might even be familiar with We Make London, the active group of artists and creatives who are at the center of many initiatives, among them the books featuring so much of the creative talent active today in England. You might be luckier still and know that We Make London recently opened a Popup Boutique in the West court of Camden Lock. You might even have been there...if not, a visit in the near future is in order. With so many designers displaying there and so many crafts represented, you are likely to find something to bring home with you, both for yourself and your dear ones. As soon as I became aware of We Make London's Popup Boutique, I applied to sell there and I was thrilled to get an invitation back from them. Starting today and for the next four weeks, some of my necklaces and earrings will be available for sale from the Popup Boutique, and you would make me very happy by going and taking a look at them. I can only thank Mary, Lee, Lizzie, and everyone else working at the Popup Boutique for making this possible through all of their hard work. You are creating a very welcoming space both for the crafters whose work you are displaying and for the many Camden Lock visitors who may wander in and discover something truly beautiful and original to treasure for years to come.
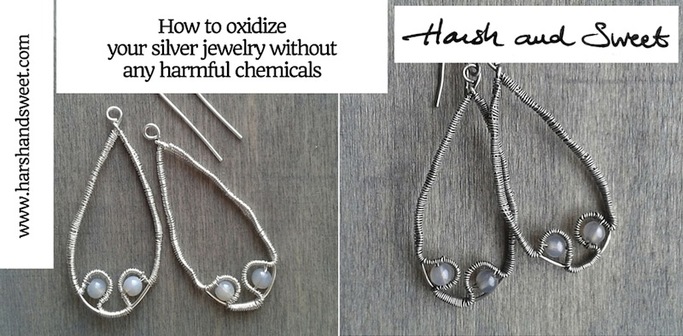
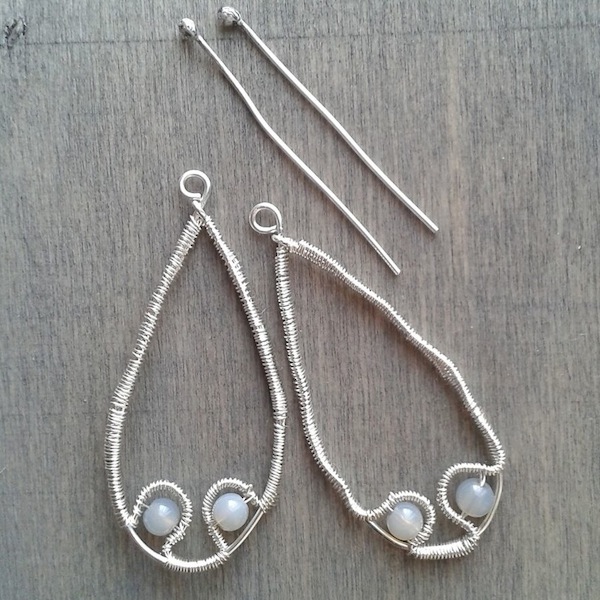
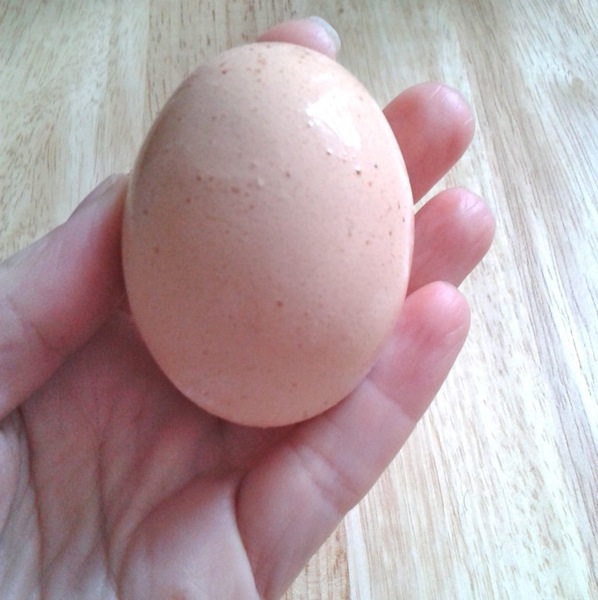
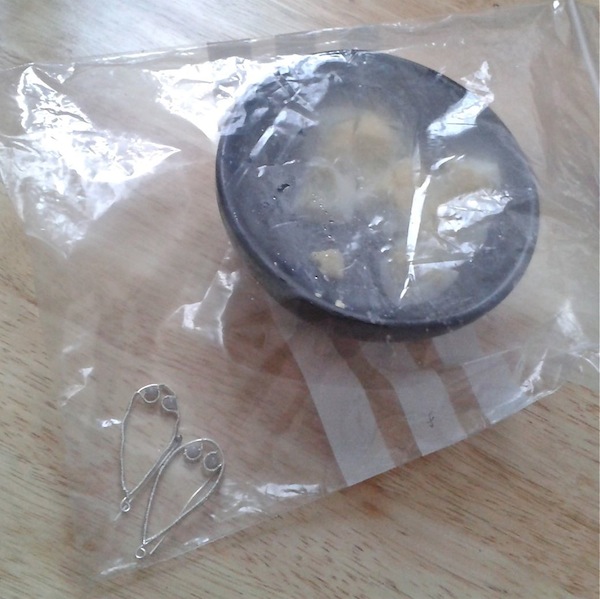
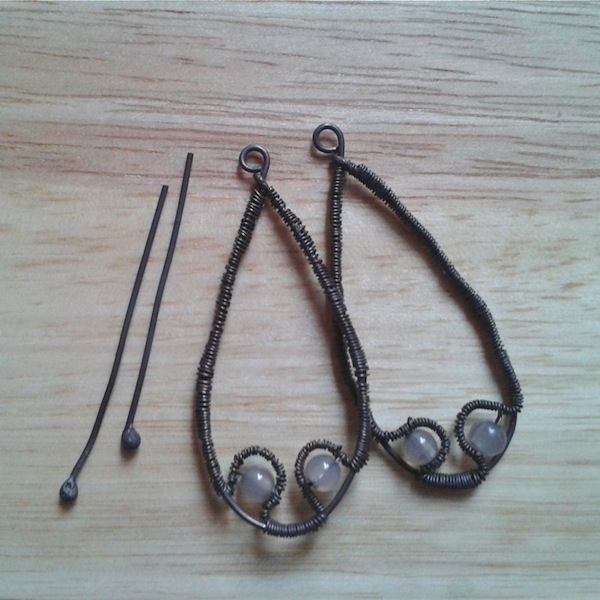
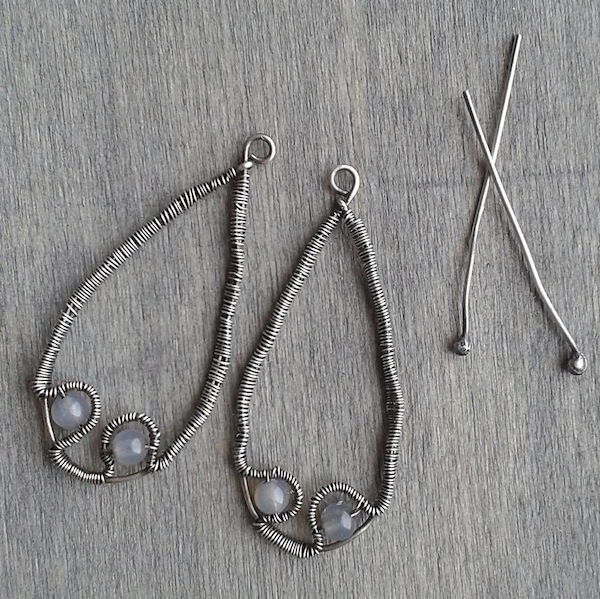
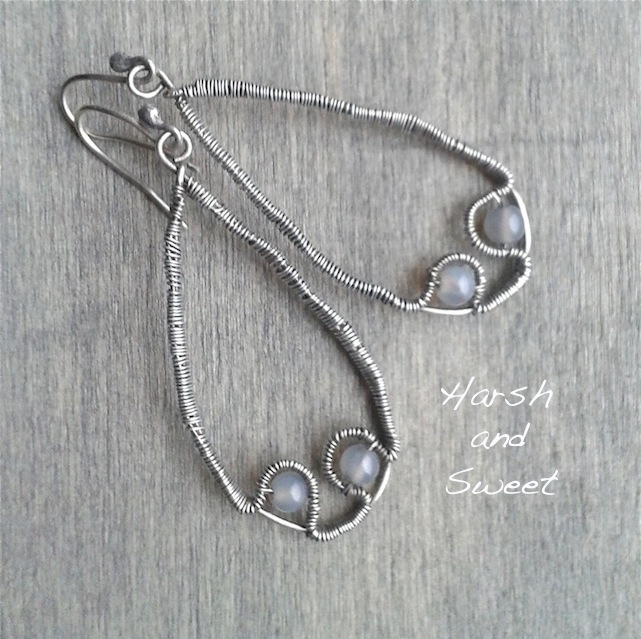
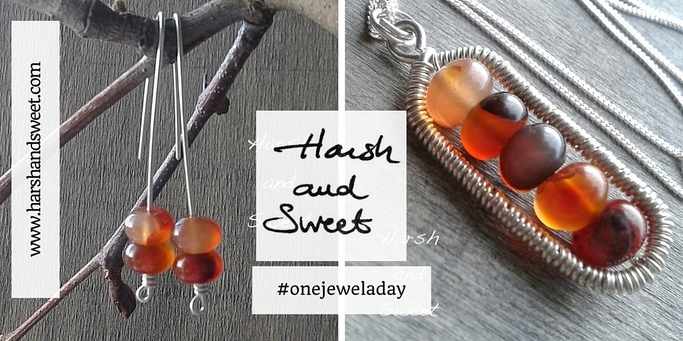
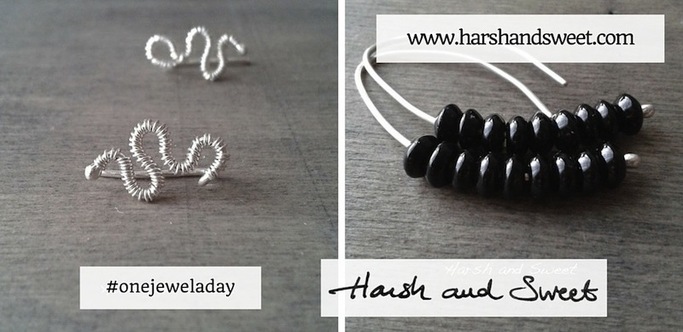
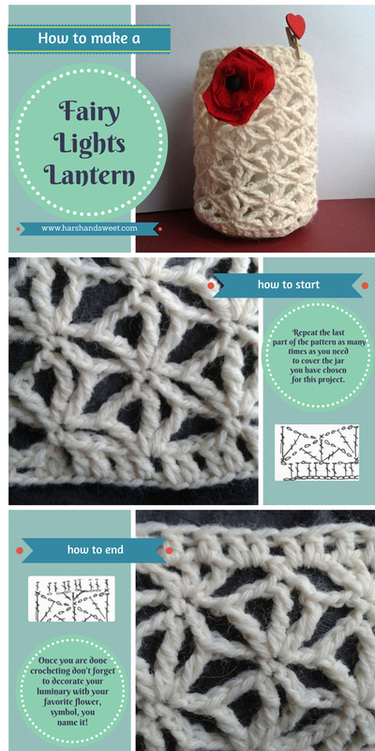
Update: The Popup boutique is no longer open. You can find my jewelry here on this site instead. You know I'm not fond of noxious chemicals, and some of you asked me to elaborate and explain how I manage to avoid using them. I finally have a chance to show you how it's done with a short and sweet tutorial on how to oxidize silver – by using things you probably already have at home. But first of all, let me explain to you how I ended up oxidizing the earrings in this tutorial, and why. I have some very nice agate beads in a very delicate gray color. It's a beautiful shade of gray, but it doesn't look like much against silver, until the moment the silver is oxidized. At that point the agate stands out much more, and the contrast between the color of the stone and the wire-wrapped frame of the earrings looks really good. As you see from the pictures, the stones are already in place and they can go in with the rest of the earring without any danger. The earrings I am using in this tutorial are indeed very small, it's not just your impression. I love making small earrings - in fact, small and ultra-light earrings. I have such small earlobes that anything heavier than two grams is a bit too much for me for extended periods of time. However, it's not easy to find earrings that are light and decorated with the gemstones I like. The desire to start making my own earrings was in part what led me to take up jewelry making. It goes without saying that the technique described in this infographic can be scaled to work with much bigger earrings and even with more than one jewelry project at a time. I hope you'll find it useful, and please, feel free to contact me with any questions! First things first. The method I am going to describe is not difficult and can be used at home with minor preparation. Chances are you already have everything you need: the silver jewelry you want to oxidize, one or more eggs, and a sealable plastic bag. After chopping up to pieces your hardboiled egg, place it in a sealable bag with the silver. Make sure the two don't touch as this might result in uneven oxidation. The sulphur from the yolk will slowly work its magic on the silver. Give it several hours, or leave everything there overnight, and be ready to be amazed by the results. At this point all is left to do is to get rid of the excess oxidation. Some soap and/or some fine steel wool will work wonders. It's obviously easier when you do all this before you assemble your pieces, but in a pinch it can be done also after they have been assembled. You assemble all the pieces, some more polishing and... ta dah! Two weeks in, and “One Jewel A Day” has already been a revelation. I had several expectations of what would happen, and some of them turned out to be correct, others less so - but most importantly, there have been some very positive surprises. Creating so much and so fast, by my standards at least, has occasionally been as stressful as I expected, but it also brought me benefits I didn't anticipate. First of all, instead of being frozen in a world of constant deadlines and rushed work, I quite enjoyed the new pace. My natural tendency is to take things slowly and ponder every single move, but working at a faster pace brought a new lightness to my work. I found the challenge of coming up with something original to very energizing - and, as always, I like a challenge. However, the real discovery was that I have many more ideas and models ready to be put into practice than I ever suspected. Instead of coming up with mere repetitions of jewelry that I have already created, working faster actually freed me from my usual patterns, and my work is now more spontaneous - more adventurous, even. After admitting from the beginning that not all of my work might turn out equally well (at least by my standards), I have been much more ready to take risks, and they have been very rewarding. I am glad I had written about these things in my last post - that “One Jewel A Day” might mean forced progress, and that it might mean that my standards might slip. However, as I found out, there is something very liberating in having a sympathetic audience. I am very grateful for those of you who reached out to me about #onejeweladay. Last but not least, in addition to what happens here between me, my materials, and my readers, this project has also had the great advantage of indulging my love of photography by giving me the perfect excuse to take pictures and post them on Instagram and Tumblr, two platforms I knew poorly and which I mostly neglected. I discovered that I quite like them, so now I'm actually very much at ease with these two image-based platforms. I think that things between me and Instagram and Tumblr are serious - I might have found two keepers! While we were busy doing something or other, 2014 ended. 2015 is already here and as is typical at the beginning of each year, resolutions are back on everyone's mind and Facebook feed. I'm not a big fan of resolutions. They seem to exist just to highlight how lacking our lives are. This is partly why I don't usually make any. However, that doesn't mean I don't like to make big plans and change my routine. Just a few days ago I started a new project, "A jewel a day". The title says it all. Every day, a new jewel will be photographed and posted online, both on Instagram and on Harsh and Sweet's website. The first few images are already up, and I gathered some together for you in the banner below. I already work on my jewelry on most days, but I have never taken pictures and organized my earrings, necklaces, bracelets day by day. I am curious to see what I will come up with, and how my style will change over time. The idea of doing this makes me think of those videos made up of pictures someone has taken each day for years. Once you see these pictures in a speedy sequence, you can see the subjects change right under your eyes, and a lengthy evolution takes place in a matter of minutes. This is what appeals to me in the "A jewel a day" project. I want to see how my style evolves. However, given that listing a new jewel every day is quite demanding for someone who doesn't repeat the same model twice, I'm sure that there will be times when I will be photographing pieces that I don't find particularly resolved and that I would normally just modify or set aside for future reworking. In this sense, this will be an exposé highlighting what it is like to create every single day, even when I am having a bad day. I don't expect it to be an altogether positive experience, but nothing truly new can be accomplished without taking risks - so you'll see me taking plenty of risks. I don't know how hard or easy it will be to keep up with this project, but it would mean a lot to me to have your support. Please, follow me on Instagram and let me hear some cheer from the peanut gallery. Or follow me on my site - it's up to you. I hope you'll find some value in it and enjoy it too! In the meantime, I wish everyone all good things in 2015! Happy new year! With Christmas only a few days away and the darkness of the shortest day of the year surrounding us, I thought I would give you all something different from the usual blog post. Hopefully you are an experienced crocheter, or maybe not, you just enjoy the pretty lights, especially during the holidays. Be as it may, this crochet pattern for a mason jar fairy light luminary is for you. I wish you all great holidays and a great 2015! Update, December 31st, 2014.
I hope you are having fun with this crochet pattern and I like to think that you are very close to having a new fairy lights lantern for your home! To spread the fun, after appearing here this pattern has also been posted in Diana Moore's blog, Simple Crochet and Crafts. As you'll realize as soon as you follow the link, this is a wonderful blog with some great patterns and great ideas for a number of different crafts including patterns for robots, baby accessories, hats, and much more. I especially recommend you to take a look at Diana's blog if by any chance you are more at ease with a pattern than with a diagram since a pattern is now available on Diana's blog. Could this be the most fun of your New Year resolutions? It would be a very easy one to keep! Have fun with it and get in touch if you need help! It is very unfortunate, but making jewelry can require several extremely polluting substances. Some of them are so toxic that you are not supposed to use them unless your workspace is well aerated, as the fumes can make you sick and even cause lung damage. But even an adequate workspace will not protect you from burns, in the event that these chemicals come in contact with your skin or your eyes. Protective gear is required, and paying attention is essential. However, some of the processes used in jewelry making leave behind unseemly residues that simply must be cleaned up. The dark heatscale that coats any silver that has been melted with a torch is a case in point. Not only will it leave a dark mark on anything it touches, but it just doesn't look good. The opposite process, oxidation, also comes with its own challenges. While adding a very nice dark coloring to silver, oxidation is often obtained with liver of sulphur, a highly toxic substance. The problem then becomes how to accomplish everything that these strong chemicals can do without actually using any of them, and how to protect both the person making jewelry and the environment, which can be negatively impacted by these substances. The good news is that heatscale can be removed from metal and silver can be oxidized without any strong chemicals. Of course, both procedures entail a series of chemical reactions of one kind or another, but instead of harmful acids one can use very safe substances that we all have in the house. The process will take longer, but the advantages, in terms of safety and the environment, are worth the wait. |
Archives
May 2016
Categories
All
MonicaI love hematite, onyx, and chocolate. |
|
Copyright © 2024 Harsh and Sweet®. All rights reserved.
This website uses cookies. By continuing to use this website, you are giving consent to their use. For more information on cookies, please, visit www.google.com/privacy/partners/
|

 RSS Feed


